


Start With a Headroom Survey, Not a Floor Plan
Before anyone sketches a bed or a basin, walk the loft with a long spirit level and a tape measure and mark the height of the existing structure every half metre or so. What you are building is a head-height map: the line where the sloping ceiling crosses 1.9m, 2.1m and 2.3m. In most unconverted lofts that line sits surprisingly close to the eaves, and it tells you honestly how much genuinely usable floor a standard conversion would give you.
It also shows you where the money is best spent. Gaining 200mm across the middle of a room is worth far more than gaining 600mm in a corner destined for a wardrobe. Once you know your map, the three levers below become obvious: the floor, the collar ties, and the shape of the dormer itself.
Lower the Floor Before You Raise the Roof
The single most effective move in a loft conversion is to drop the finished floor level as far as the structure sensibly allows. Existing ceiling joists are usually shallow – 100mm by 50mm is common – and they sit on top of the wall plate, so the floor deck lands higher than it needs to.
- Set new joists between the old ones. If the existing ceiling joists are sound and regularly spaced, new floor joists can often be threaded between them, resting on the same wall plates. This can reclaim 75–150mm of headroom, depending on joist depths.
- Use engineered timber. I-joists and slim-flanged engineered beams give greater stiffness for a shallower depth than traditional solid timber, which matters when every millimetre counts.
- Drop a steel or a flitched beam. Where a span is long or a wall below is fragile, a steel beam or a timber flitch can carry the floor and let you set the joists lower still.
- Lower the ceiling below. Sometimes the cleanest answer is a slightly reduced ceiling height in the room underneath, particularly in a hallway or landing where nobody notices.
Lowering the floor also improves the staircase, which is where loft conversions most often fail building control. More on that shortly.
Raise the Collar Ties – Properly
Collar ties are the horizontal timbers that stop the rafters spreading. In older roofs they are frequently fixed at 1.4m to 1.8m above floor level, which turns the centre of your loft into a ducking zone. Raising them to 2.2m or higher is one of the great headroom wins of a dormer conversion, but it is a structural change, not a carpentry tweak.
- Raised collars work where the rafters are strong enough and the roof is not overly wide, and they keep the loft feeling open.
- A ridge beam takes the load at the apex, allowing collars to be removed altogether and giving you a full-height vaulted ceiling.
- Steel purlins and props are often needed to support the new arrangement, and the whole design should be signed off by a structural engineer.
A word of caution: raising collars internally does not usually change your permitted development position, but raising the ridge or altering the external roof shape almost certainly will.
Why a Flat Roof Dormer With a Slight Slope Wins
The dormer is where most conversions either find or lose their headroom. A pitched-roof dormer looks charming from outside, but its ceiling slopes down towards the front of the house – exactly where you want to stand, dress and look out of the window.
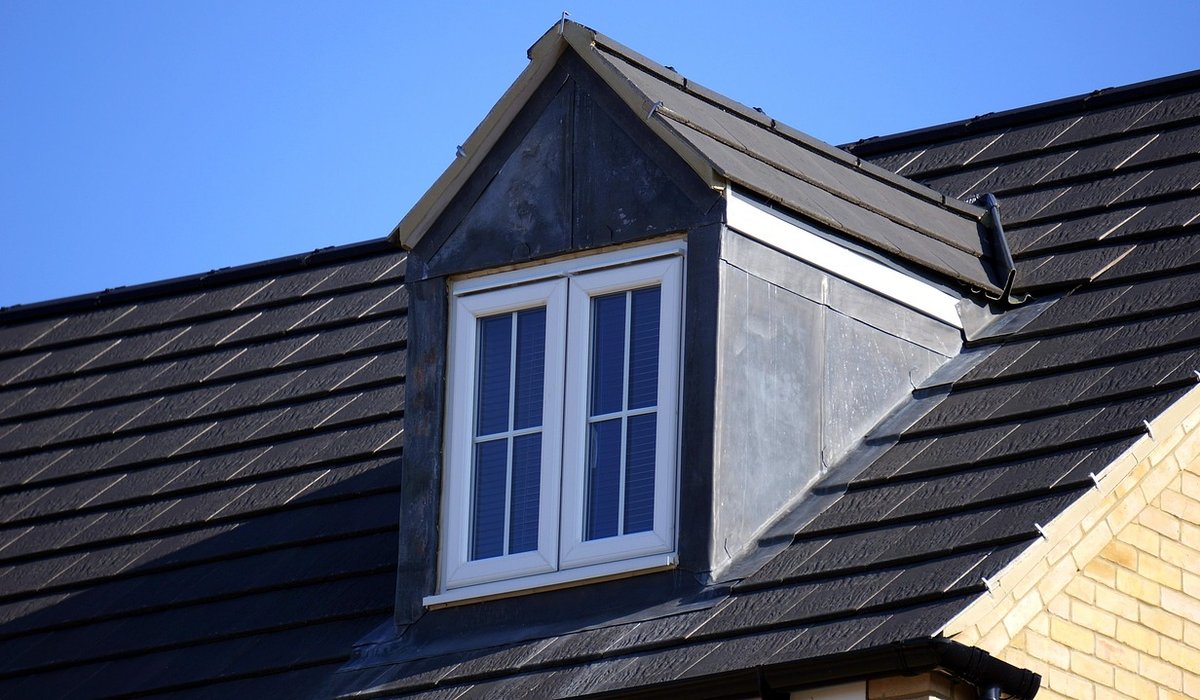
A flat roof dormer with a gentle fall to the rear, typically between 1:40 and 1:80, is far more generous internally. The front face becomes a full-height wall, the ceiling runs level across the whole dormer, and the knee walls at the sides can be kept low and used for storage. You gain usable standing height without touching the existing roofline, which keeps planners and neighbours onside.
Box dormers spanning the full width of the rear elevation give the greatest internal volume, while a smaller flat-roof dormer with a well-placed rooflight is a smart compromise for tighter budgets.
The 2m Line: Where Headroom Actually Matters
Building control is interested in specific places rather than averages. As a rule of thumb, most inspectors look for roughly 2.1m of headroom across a sensible proportion of a habitable room, and never less than 2m above the entire length of a staircase, including the landing at the top and the door swing into the room.
Produce a head-height plan before you finalise the layout. Mark the 2m line on paper with a hatched band and put the shower, the bed and the desk inside it. Tuck wardrobes, shelving, a bath, a low chest of drawers or a compact en-suite into the zones below it. That simple discipline is what makes a small loft feel generous rather than cramped.
Small Details That Buy You Inches
- Slimmer insulation build-ups. High-performance rigid boards between the rafters need less depth than mineral wool for the same U-value, so the ceiling plane drops less.
- Rooflights between the rafters. A rooflight set into the slope rather than a bulky roof window box keeps the ceiling line clean.
- Pocket or sliding doors. No door swing means no wasted 800mm of floor at the top of the stairs.
- Vault the ceiling. Where the structure allows, a sloping plastered ceiling following the rafters feels taller than a flat one dropped below them.
- Recessed lighting and flush sockets. Small gains, but they stop you cluttering the room at ankle and head height.
Get the floor down, the collars up and the dormer shaped generously, and a modest loft becomes a room you can stand up and breathe in.


Leave a reply